
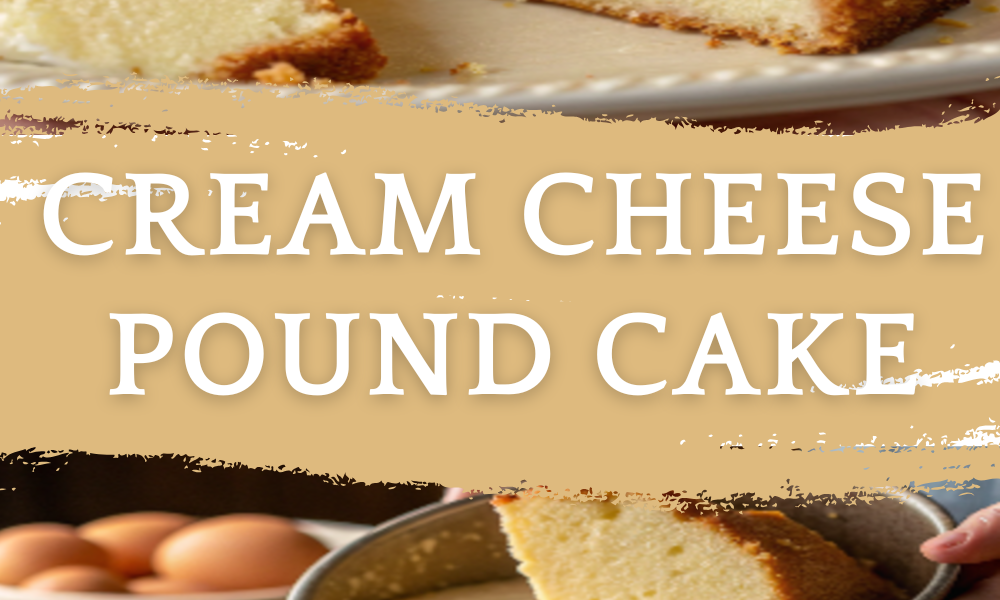
🧈 Introduction
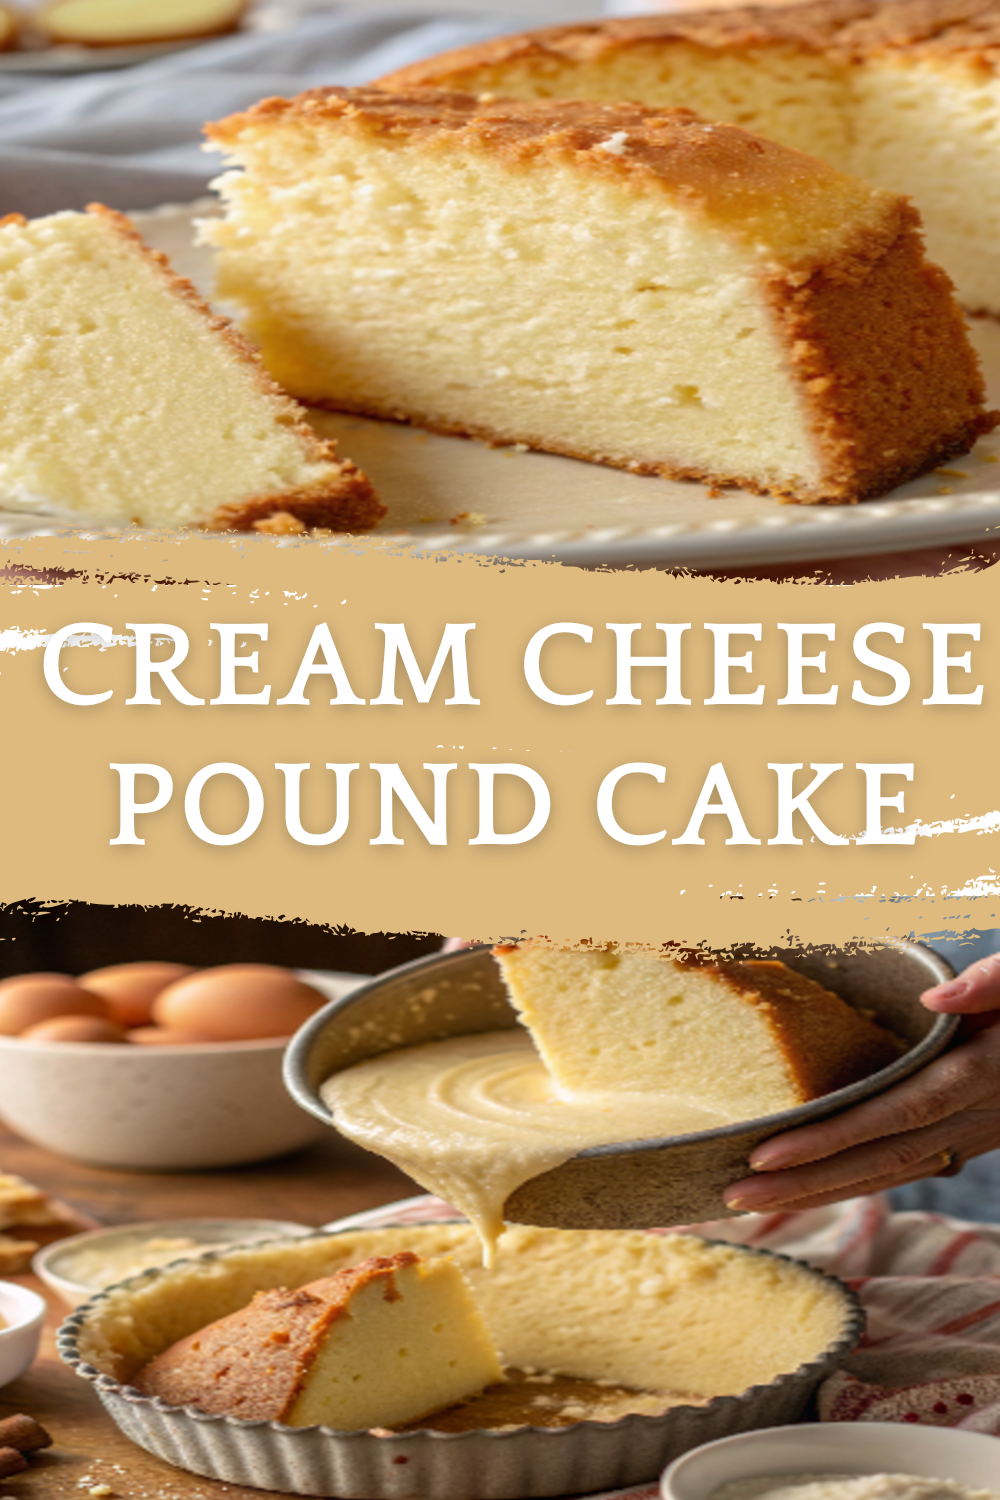
This cream cheese pound cake is built for texture and richness. It delivers a tight, velvety crumb with a deep buttery flavor, enhanced by cream cheese for extra moisture and structure.
No shortcuts here—just classic technique. The result is a cake that slices clean, holds shape, and stays soft for days.
🧰 Equipment Needed
- Large mixing bowl
- Electric mixer (recommended)
- Measuring cups and spoons
- Bundt pan or loaf pans
- Spatula
- Cooling rack
🛒 Ingredients
- 1 1/2 cups unsalted butter, softened
- 1 package (8 oz) cream cheese, softened
- 3 cups granulated sugar
- 6 large eggs
- 3 cups all-purpose flour
- 1/2 teaspoon salt
- 1 tablespoon vanilla extract
👩🍳 Directions
Step 1: Prep
- Preheat oven to 160°C (325°F).
- Grease and flour a Bundt pan thoroughly.
Step 2: Cream Butter & Cream Cheese
- Beat butter and cream cheese until smooth.
- Add sugar gradually and beat until light and fluffy (3–5 minutes).
Step 3: Add Eggs
- Add eggs one at a time.
- Mix well after each addition.
Step 4: Add Dry Ingredients
- In a separate bowl, mix flour and salt.
- Add to batter in batches, mixing gently.
- Stir in vanilla extract.
Step 5: Bake
- Pour batter into prepared pan.
- Smooth the top.
- Bake for 75–90 minutes.
- Toothpick should come out clean.
Step 6: Cool
- Cool in pan for 15–20 minutes.
- Remove and cool completely on rack.
⏱️ Time & Servings
- Prep Time: 20 minutes
- Bake Time: 75–90 minutes
- Total Time: ~1 hour 45 minutes
- Servings: 12–16 slices
🧊 Storage & Reheating
Storage:
- Room temperature: up to 3 days
- Refrigerator: up to 1 week
Freezing:
- Freeze slices up to 2 months
Reheating:
- Microwave 10–15 seconds
🥄 Variations
- Lemon Version: Add lemon zest and juice
- Glazed: Add simple sugar glaze on top
- Marble: Swirl in chocolate batter
- Almond Flavor: Replace part of vanilla with almond extract
- Berry Topping: Serve with fresh berries
❓ FAQs
1. Why is it dense?
That’s the intended texture of pound cake.
2. Can I use a loaf pan?
Yes, adjust baking time.
3. Why did it crack on top?
Normal due to dense batter.
4. Can I reduce sugar?
Not recommended—it affects structure.
5. Why is it dry?
Overbaking or too much flour.
6. Do I need baking powder?
No, structure comes from eggs.
7. Can I use salted butter?
Yes, reduce added salt slightly.
8. Why room temperature ingredients?
Ensures smooth batter.
9. Can I flavor it?
Yes, extracts or citrus work well.
10. Is it beginner-friendly?
Yes, but requires attention to mixing.
🏁 Conclusion
This cream cheese pound cake is a structured, reliable dessert with a rich, dense crumb and deep flavor. It’s simple in ingredients but depends on proper technique—especially creaming and baking time.
Consistent results, strong texture, and long shelf life make it a staple recipe.
🧀 Cream Cheese Pound Cake – Dense, Buttery & Ultra Moist
Ingredients
Equipment
Method
- Preheat oven to 160°C (325°F).
- Grease and flour a Bundt pan thoroughly.
- Beat butter and cream cheese until smooth.
- Add sugar gradually and beat until light and fluffy (3–5 minutes).
- Add eggs one at a time.
- Mix well after each addition.
- In a separate bowl, mix flour and salt.
- Add to batter in batches, mixing gently.
- Stir in vanilla extract.
- Pour batter into prepared pan.
- Smooth the top.
- Bake for 75–90 minutes.
- Toothpick should come out clean.
- Cool in pan for 15–20 minutes.
- Remove and cool completely on rack.
Notes
Storage:
Room temperature: up to 3 days
Refrigerator: up to 1 week
Freezing:
Freeze slices up to 2 months
Reheating:
Microwave 10–15 seconds
🥄 Variations
Lemon Version: Add lemon zest and juice
Glazed: Add simple sugar glaze on top
Marble: Swirl in chocolate batter
Almond Flavor: Replace part of vanilla with almond extract
Berry Topping: Serve with fresh berries
❓ FAQs
1. Why is it dense? That’s the intended texture of pound cake. 2. Can I use a loaf pan? Yes, adjust baking time. 3. Why did it crack on top? Normal due to dense batter. 4. Can I reduce sugar? Not recommended—it affects structure. 5. Why is it dry? Overbaking or too much flour. 6. Do I need baking powder? No, structure comes from eggs. 7. Can I use salted butter? Yes, reduce added salt slightly. 8. Why room temperature ingredients? Ensures smooth batter. 9. Can I flavor it? Yes, extracts or citrus work well. 10. Is it beginner-friendly? Yes, but requires attention to mixing. 🏁 Conclusion This cream cheese pound cake is a structured, reliable dessert with a rich, dense crumb and deep flavor. It’s simple in ingredients but depends on proper technique—especially creaming and baking time. Consistent results, strong texture, and long shelf life make it a staple recipe.


Leave a Reply