
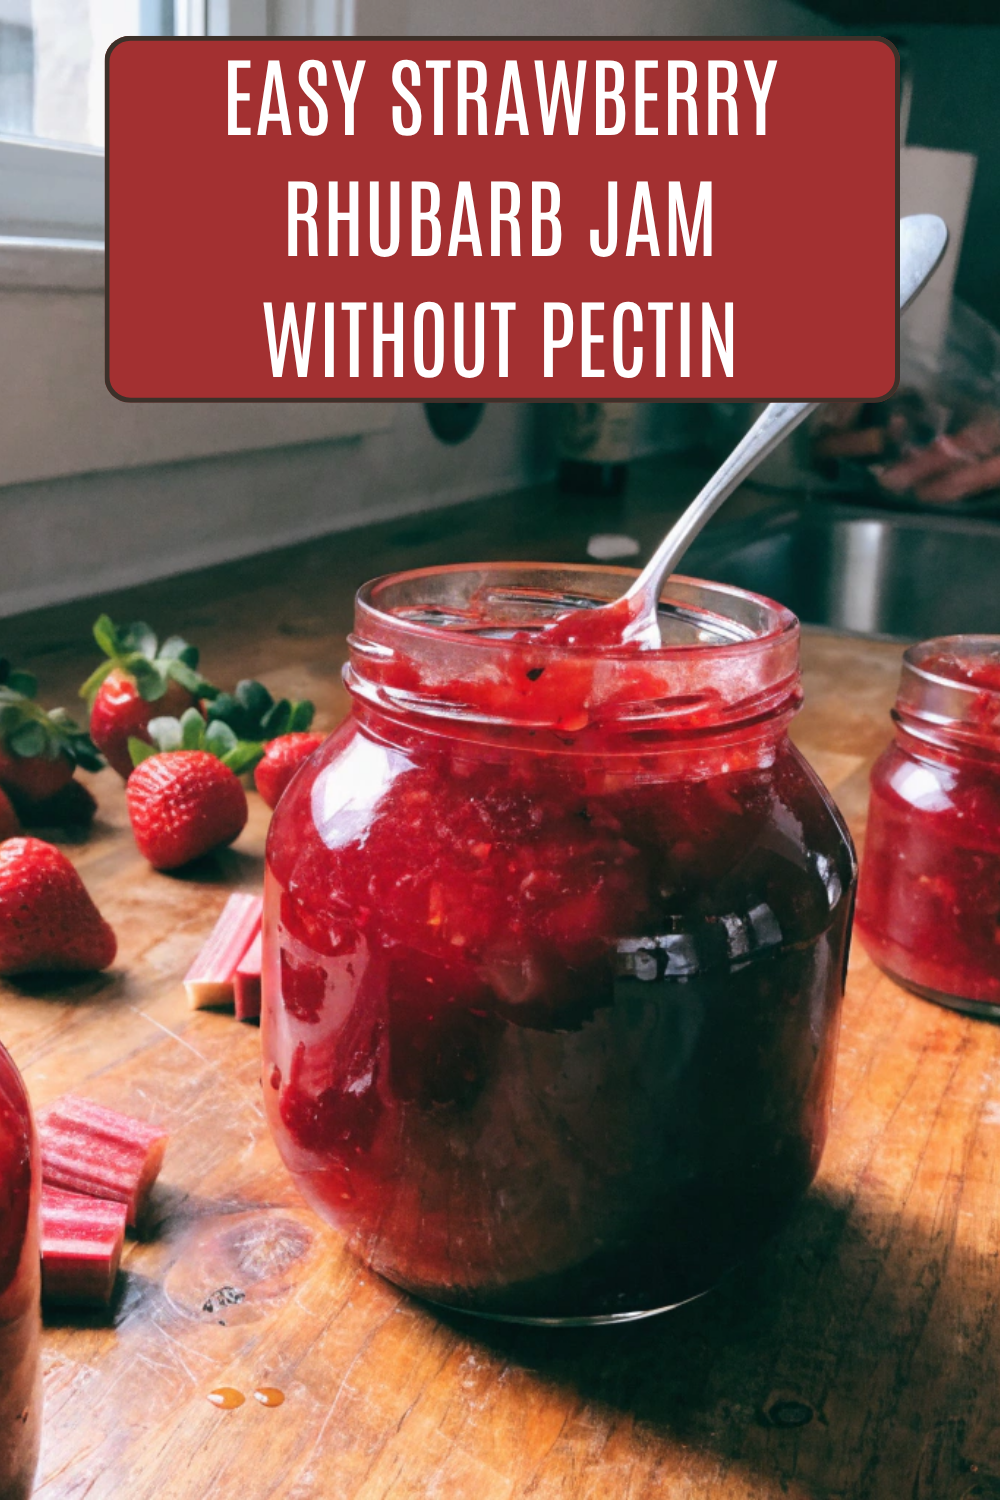
The first time I made strawberry rhubarb jam, I was convinced I ruined it because it looked way too thin in the pot. I kept stirring, checking the spoon, second-guessing everything, and nearly added store-bought pectin halfway through out of panic.
I’m glad I didn’t. Once the jam cooled, it thickened perfectly on its own and tasted way fresher than the overly sweet jars I’d bought at the grocery store for years. Now I make a batch every spring as soon as rhubarb shows up because it disappears fast around here.
Why This Recipe Works
Here’s the thing with homemade jam: people think you need fancy equipment or pectin packets to make it work, but you really don’t for this recipe. The strawberries naturally help the jam set while the rhubarb adds tartness that keeps everything from tasting flat and sugary.
What I figured out is that cooking the fruit slowly enough gives the jam a thicker texture without needing extra ingredients. Lemon juice also helps brighten the flavor and balance the sweetness.
Ingredient Notes
Fresh rhubarb works best because frozen rhubarb releases a lot more liquid and takes longer to cook down.
Use ripe strawberries if possible. Underripe berries make the jam taste sharper and less sweet naturally.
Regular granulated sugar works perfectly here. I tried reducing the sugar too aggressively once and ended up with runnier jam that spoiled faster.
Fresh lemon juice matters more than bottled juice in jam recipes because the flavor stays cleaner and brighter.
How to Make It
Start by washing and chopping the strawberries and rhubarb into small pieces. Don’t worry about making everything perfectly uniform because the fruit softens quickly once heated.
Add the fruit, sugar, and lemon juice to a large heavy pot. Use a bigger pot than you think you need because jam bubbles aggressively once it starts boiling. Learned that one while scrubbing sticky strawberry foam off my stovetop.
Cook the mixture over medium heat, stirring frequently as the fruit breaks down. After a while, the strawberries collapse completely and the rhubarb softens into the jam.
Once it starts thickening, stir more often so the bottom doesn’t scorch. The jam should coat the back of a spoon lightly and leave a trail when you drag a spoon through the pot.
To test it, I usually place a small spoonful on a cold plate from the freezer. If it wrinkles slightly when pushed with a finger, it’s ready.
Carefully ladle the hot jam into clean jars, leaving a little space at the top. Process in a water bath canner if storing long term.
Things I Learned the Hard Way
Don’t rush the cooking process by turning the heat too high or the sugar can scorch before the fruit thickens properly.
Use a wide pot if possible because jam thickens faster with more surface area.
And don’t skip wiping jar rims clean before sealing or the lids may not close correctly.
Storage & Serving Suggestions
Properly sealed jars can be stored in a cool pantry for up to 1 year. Once opened, keep the jam refrigerated and use within about 3 weeks.
I mostly spread this on toast and biscuits, but it’s also really good spooned into yogurt or warmed slightly over vanilla ice cream.
Easy Strawberry Rhubarb Jam Without Pectin
Ingredients
Method
- Wash and chop rhubarb and strawberries into small pieces.
- Add fruit, sugar, and lemon juice to a large heavy-bottomed pot.
- Cook over medium heat, stirring frequently until sugar dissolves and fruit releases liquid.
- Bring mixture to a steady boil and continue cooking for 30-40 minutes, stirring often.
- Skim off excess foam if needed during cooking.
- Test jam by placing a spoonful on a cold plate. If it wrinkles slightly when pushed, it is ready.
- Ladle hot jam into sterilized jars, leaving 1/4-inch headspace.
- Wipe jar rims clean, apply lids, and process in a boiling water bath for 10 minutes if canning for shelf storage.
- Let jars cool completely before storing.

Leave a Reply