
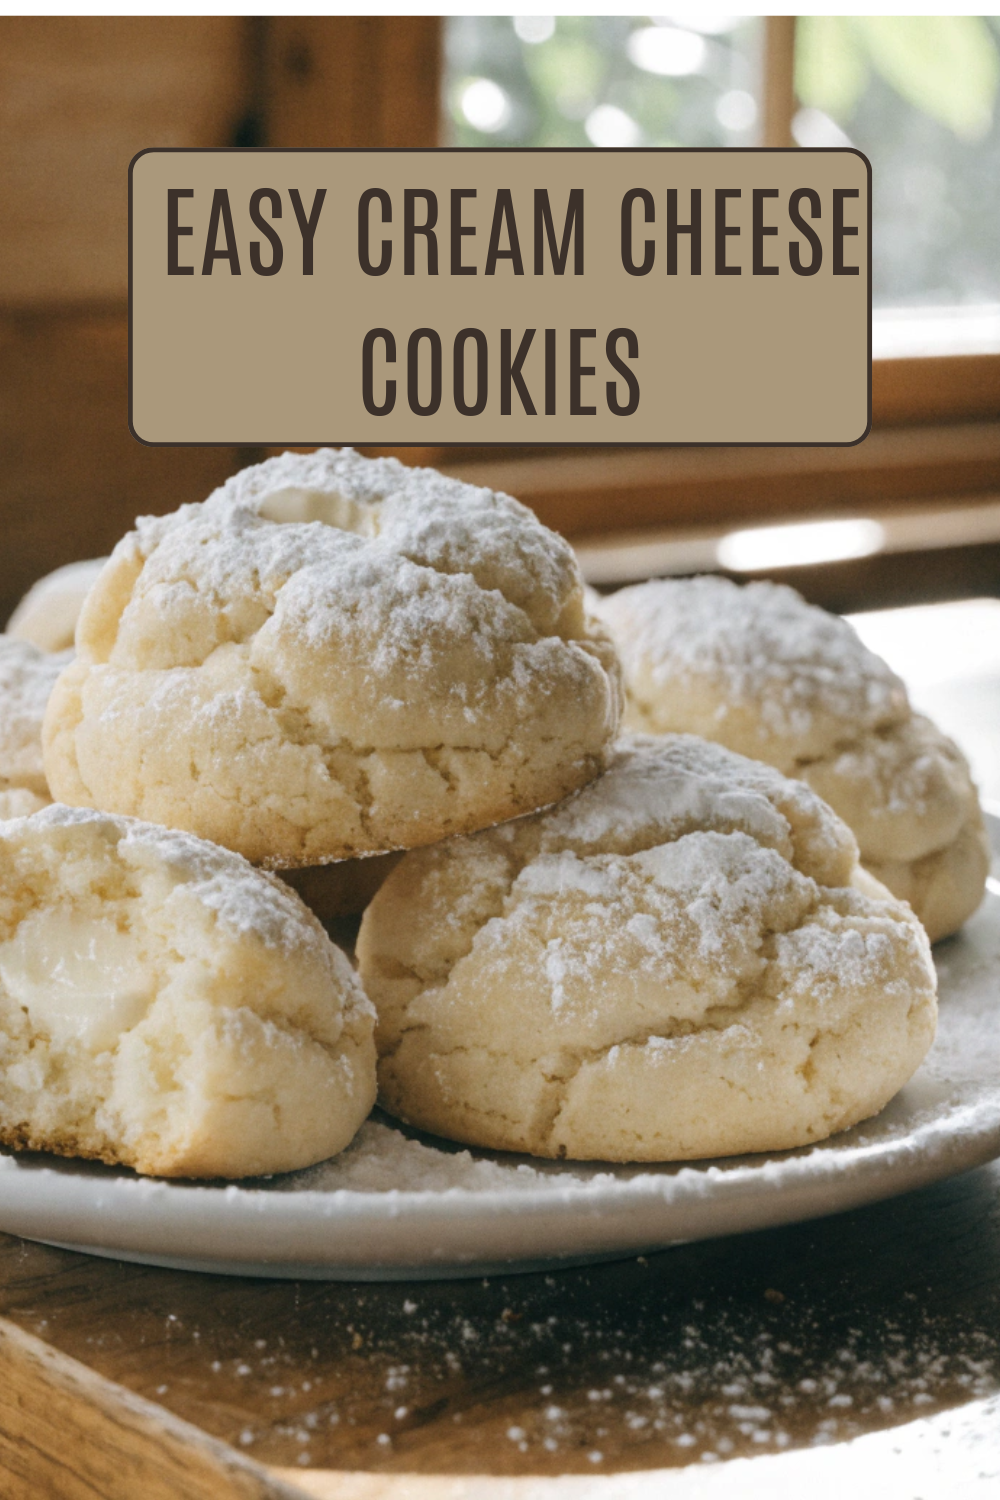
I didn’t expect much from these the first time I made them. I just had half a block of cream cheese sitting in the fridge and didn’t want it to go to waste. The result was a batch of cookies that were softer than anything I’d baked before—and now I make them on purpose, not just to use leftovers.
Why This Recipe Works
Here’s the thing—cream cheese changes the texture completely. It keeps the cookies soft without making them greasy like some butter-heavy recipes do. What I figured out is that you get this slightly tangy flavor that balances the sweetness, so they don’t feel heavy even if you eat more than a couple.
Ingredient Notes
Use full-fat cream cheese. I tried a lighter version once and the cookies came out too soft and didn’t hold their shape.
Butter should be softened, not melted. I rushed this once and the dough got too loose.
Powdered sugar on top isn’t optional for me—it adds a light finish that works with the tangy base.
How to Make It
I start by creaming the butter and cream cheese together until smooth. It takes a couple of minutes to get rid of the lumps, especially if the cream cheese is a bit cold.
Then I add the sugar and mix until everything looks light and combined. After that, I mix in the egg and vanilla. At this stage, the mixture looks softer than typical cookie dough.
In a separate bowl, I whisk the flour, baking powder, and salt. I slowly add that into the wet ingredients, mixing just until the dough forms. Overmixing here can make the cookies less tender.
The dough is softer than most, so I usually chill it for about 20–30 minutes. I skipped this once and the cookies spread too much.
After chilling, I scoop small portions onto a lined baking sheet. They don’t need much shaping.
I bake them at 350°F (175°C) for about 10–12 minutes. The edges should be set, but the tops stay pale. That’s normal—don’t wait for them to brown.
Once they cool, I dust them with powdered sugar. That’s what brings everything together.
Things I Learned the Hard Way
Chill the dough. I ignored this step once and ended up with flat cookies.
Don’t overbake—they won’t brown much, so go by texture, not color.
Make sure the cream cheese is properly softened, or you’ll get lumps in the dough.
Storage & Serving Suggestions
Keep these in an airtight container in the fridge for up to 4 days. I usually let them sit out for a few minutes before eating so they soften again. They’re good on their own or with coffee.




Leave a Reply